How to Print 4x6 Shipping Labels at Home
Step-by-step guide to printing professional 4x6 shipping labels from your home printer. Works with thermal printers like Rollo and DYMO, plus standard inkjet and laser printers.
What You Need
Printing shipping labels at home is simpler than you think. Whether you run an Etsy shop, a Shopify store, or just need to mail packages, a 4x6 label gives your shipments a clean, professional look.
Equipment options:
Step-by-Step Guide
1. Design Your Label
Head to My Shipping Label and fill in your return address, customer address, and a thank-you message. Upload your logo for brand recognition.
2. Set Your Printer to 4x6
When the print dialog opens, make sure the paper size is set to 4 x 6 inches. Set scale to 100% and margins to none.
3. Load Your Paper
4. Print and Apply
Hit print, then peel and stick. The label is designed to be turned so the long edge is on top after printing, giving you a clean landscape layout.
Pro Tips
Recommended Supplies
View all
A4 Brown Kraft 4x6 Envelopes Self Seal 100 Pack
Goefun 4.25 x 6.25 inch brown kraft envelopes. Self-seal, 120 GSM, printable. Perfect for shipping labels, greeting cards, photos, and invitations. FSC-certified paper.

Rollo USB Shipping Label Printer - Commercial Grade 4x6
Commercial grade direct thermal 4x6 label printer. 150mm/s print speed, 203 DPI. No ink needed. Compatible with all major shipping platforms. Windows and Mac.
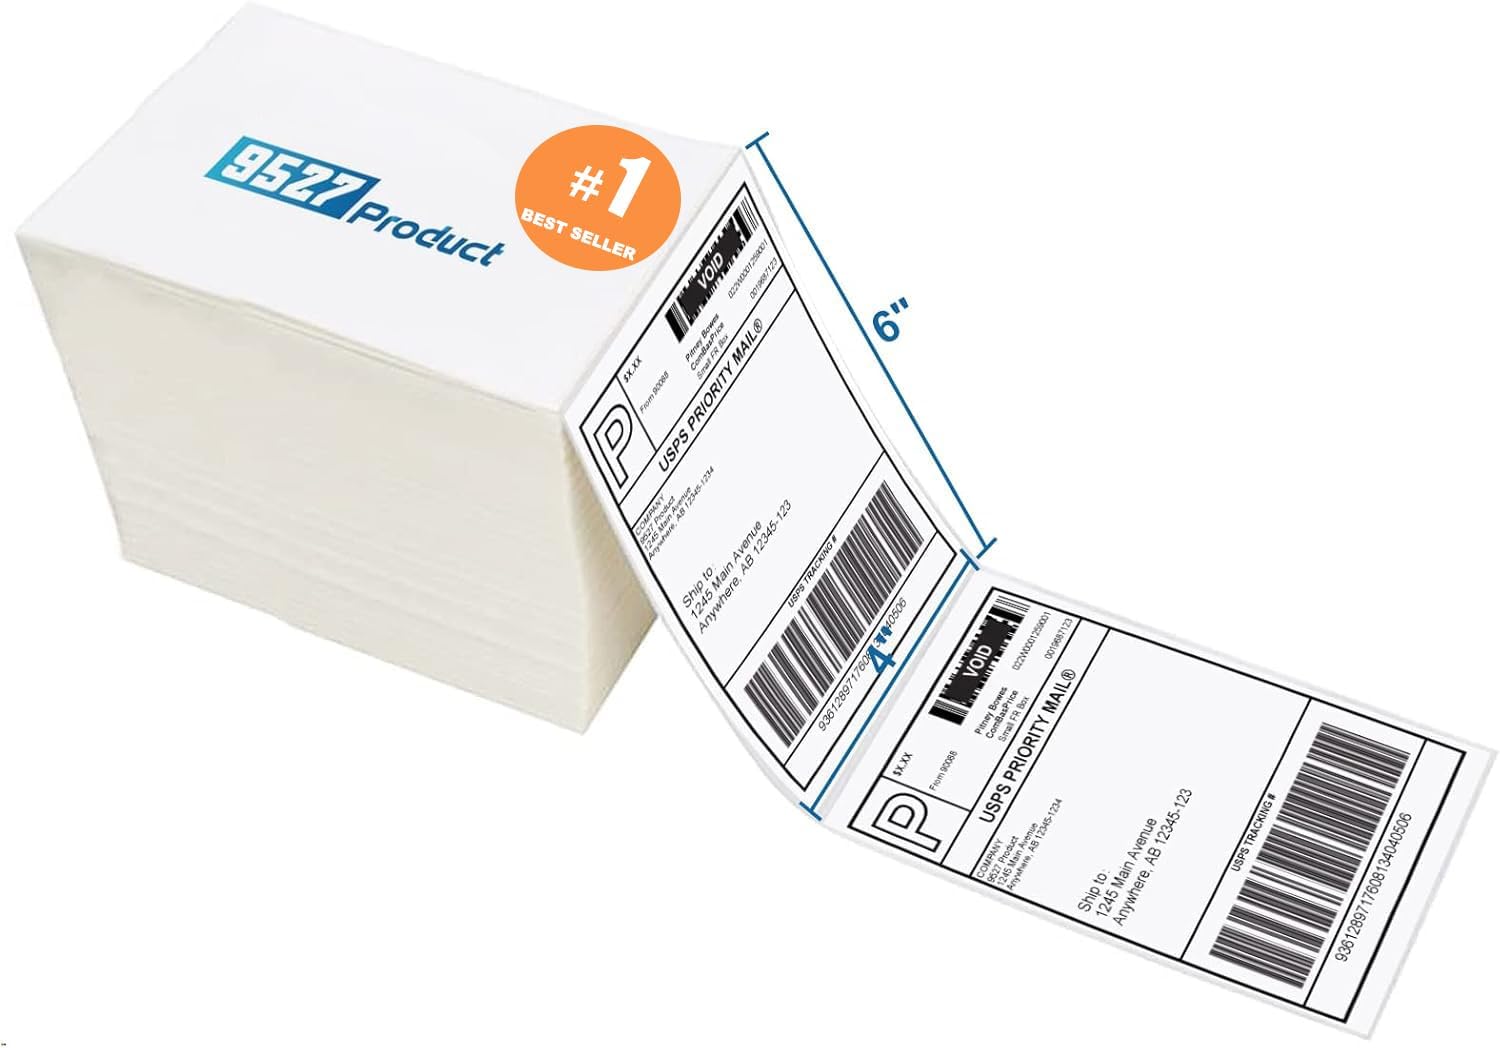
9527 Product Fanfold 4x6 Direct Thermal Labels (500 per Stack)
Fanfold 4x6 direct thermal perforated shipping labels. Compatible with Zebra, MUNBYN, and most thermal printers. Strong adhesive for boxes and envelopes. Upgraded thick backing paper.

Methdic Fragile Stickers 1"x3" Handle with Care (1000 Labels)
Strong adhesive "Fragile - Handle With Care" shipping labels. 1"x3" bright red vinyl stickers. Sticks to corrugated boxes, poly bags, and mailers.
As an Amazon Associate, we earn from qualifying purchases.